I decided to try a photo editing software from Adobe called Photoshop Lightroom. I have heard many good things about it, so I wanted to see what it was all about. I downloaded the 30 day trial (which is a FULL version) a couple days ago. It seems easy enough to use "out of the box", but there were a few things that I got confused on regarding saving and publishing that were not as obvious to me.
After playing with it, I found it pretty fun. I *might* consider buying the full version (which is $300! eeek!). I can essentially do this stuff in Photoshop, but Lightroom has taken all the photo editing aspects and placed them in one program with a pretty bow on it! It makes editing so much easier than if I had just used Photoshop.
The only thing you can't do are detailed photo edits, such as taking out something from the background or taking a frown and turning it into a smile. The fun stuff I like to do. heehee But then again, I have not really explored deeper into the program other than the color edits. There's also the batch editing, that I have not played with yet, either. But I have a whole month to play and learn!
Also, I tried the Facebook uploader through Lightroom. I noticed that when it uploads the images to Facebook, some colors look muddy and gross and some contrasts are not as high as I set them. Oh well, that's FB for ya.
++++
BEFORE and AFTER
The pic on the left is the original UNEDITED photo, straight from my camera.
The one on the right is the Lightroom edit.
I posted these and some more of my edited photos to a public Facebook album here:
https://www.facebook.com/media/set/?set=a.10150886443725043.752712.823390042&type=1&l=a7aa4dbfef
This one was the first and my favorite so far. I love the B&W version A LOT! (P.S. the yellow text box was obviously not in my original... it was just on the screen when I did the screenshot! oops)
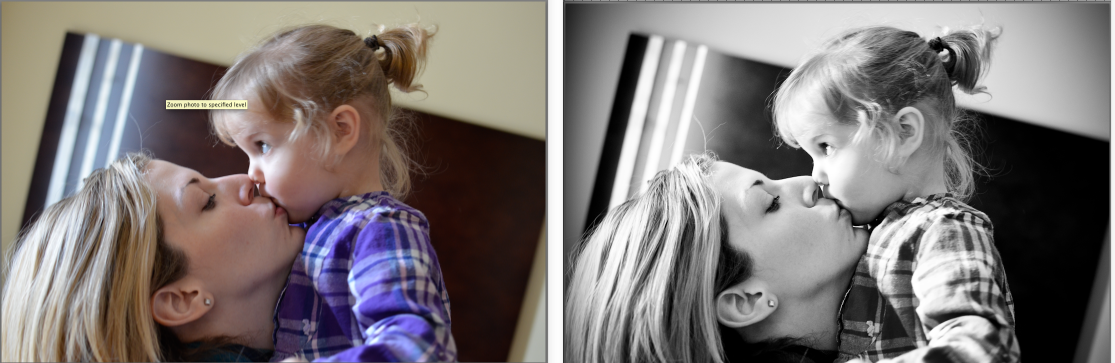
The white balance was off in my original, so the photo turned out too warm. Instead of trying to correct the color temperature, I decided to try to turn it into a B&W.

and of course the cute little guy too!
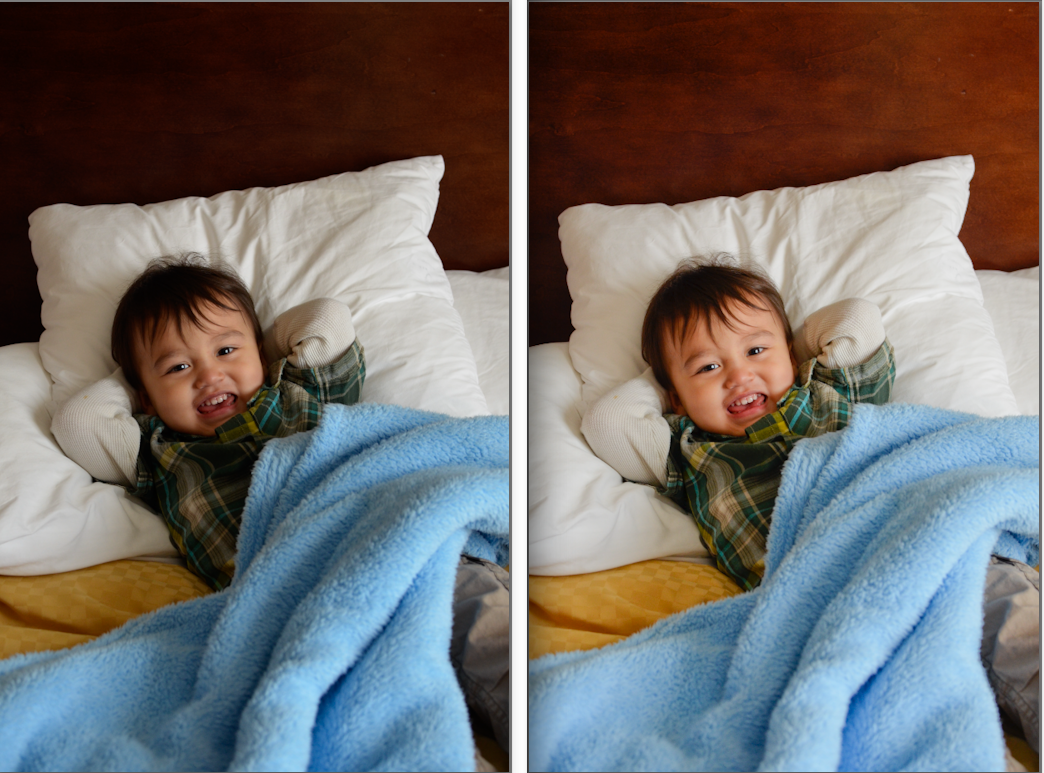
With this one, I decreased a little of the clarity to give it a bit of a "dreamy" feel.
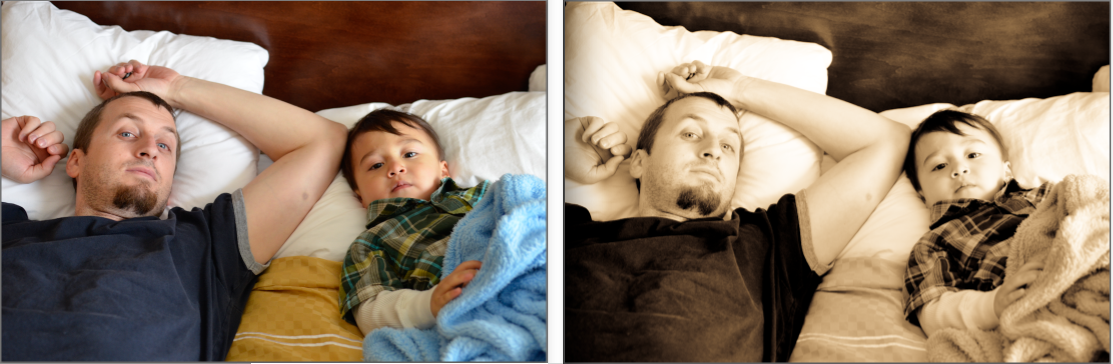
I tried the high-contrast look on this one...

++++
My next post will be about another program that I have been playing with called Portrait Professional. I purchased it and it's really fun to see what it does to a face!! Insta-airbrush!!!
No comments:
Post a Comment